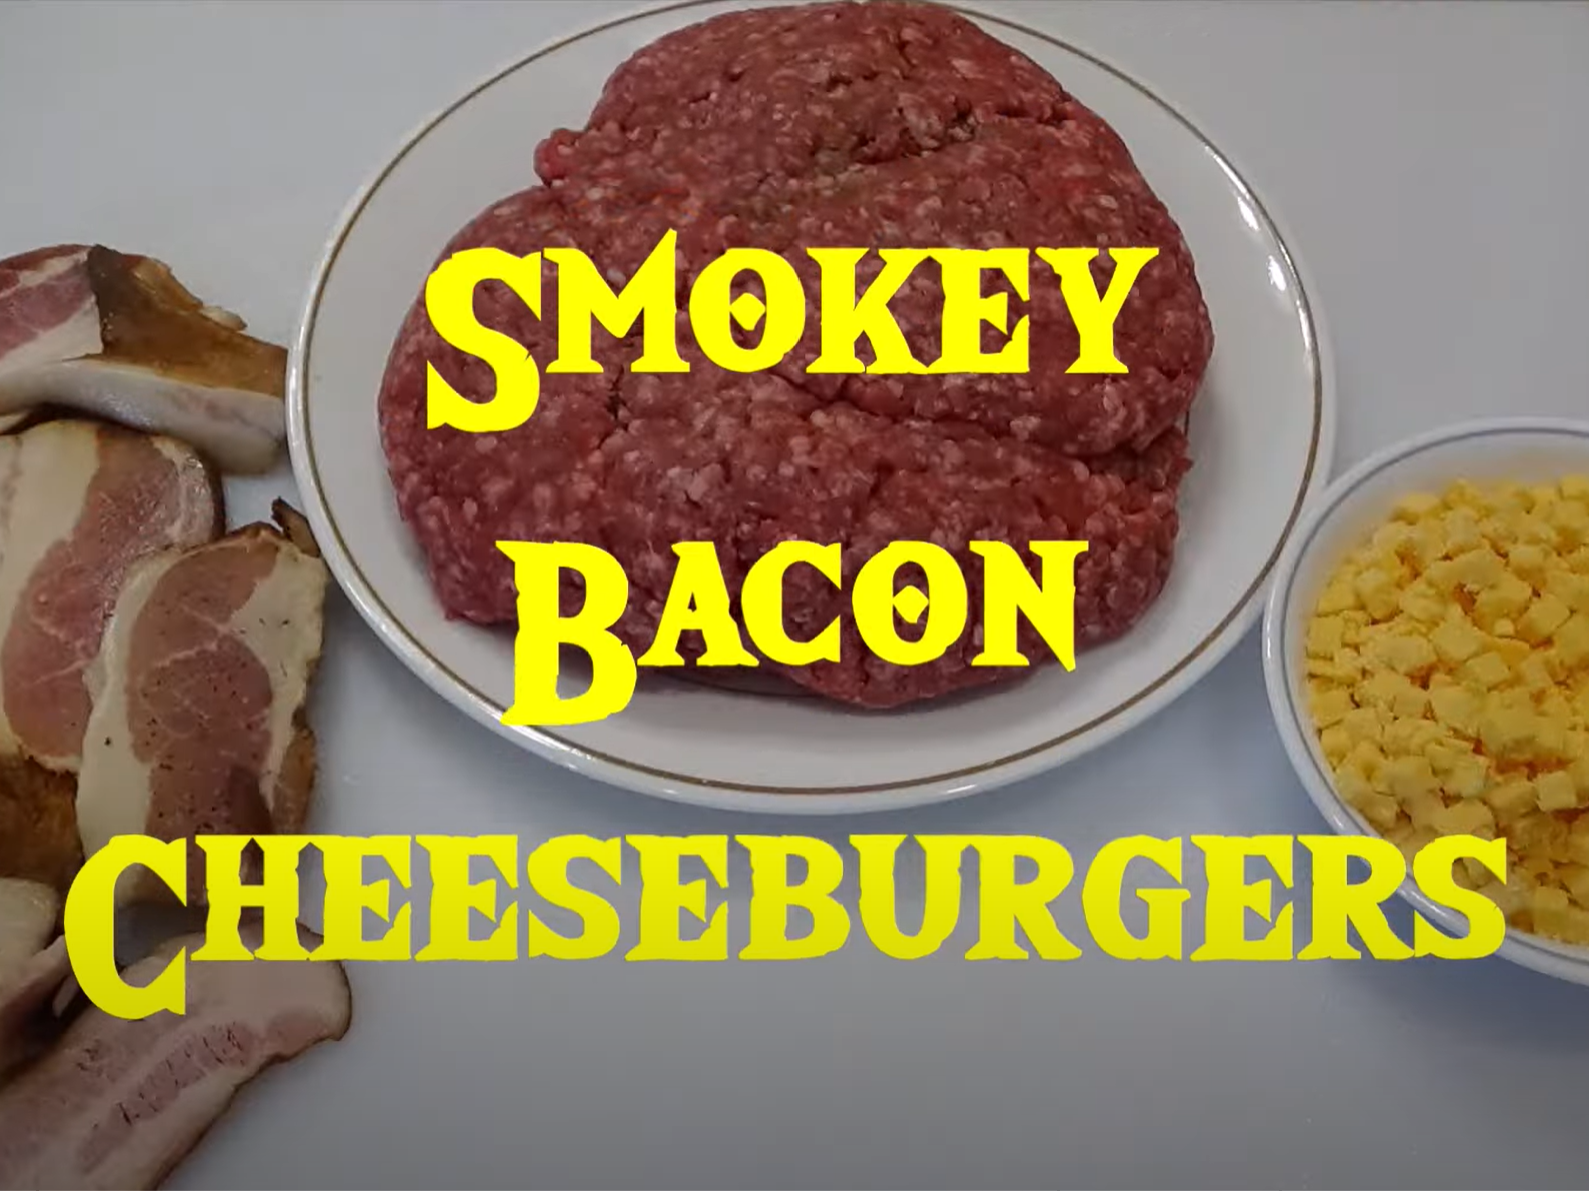
Smokey Bacon Cheeseburgers with Grillaholics Burger Press
by Smo'King BBQ Tips & Recipes
Smokey bacon cheeseburgers without the smoke! We need to thank Eric's butcher for this one. Get that intense smoky flavor on your burgers by adding one special ingredient.
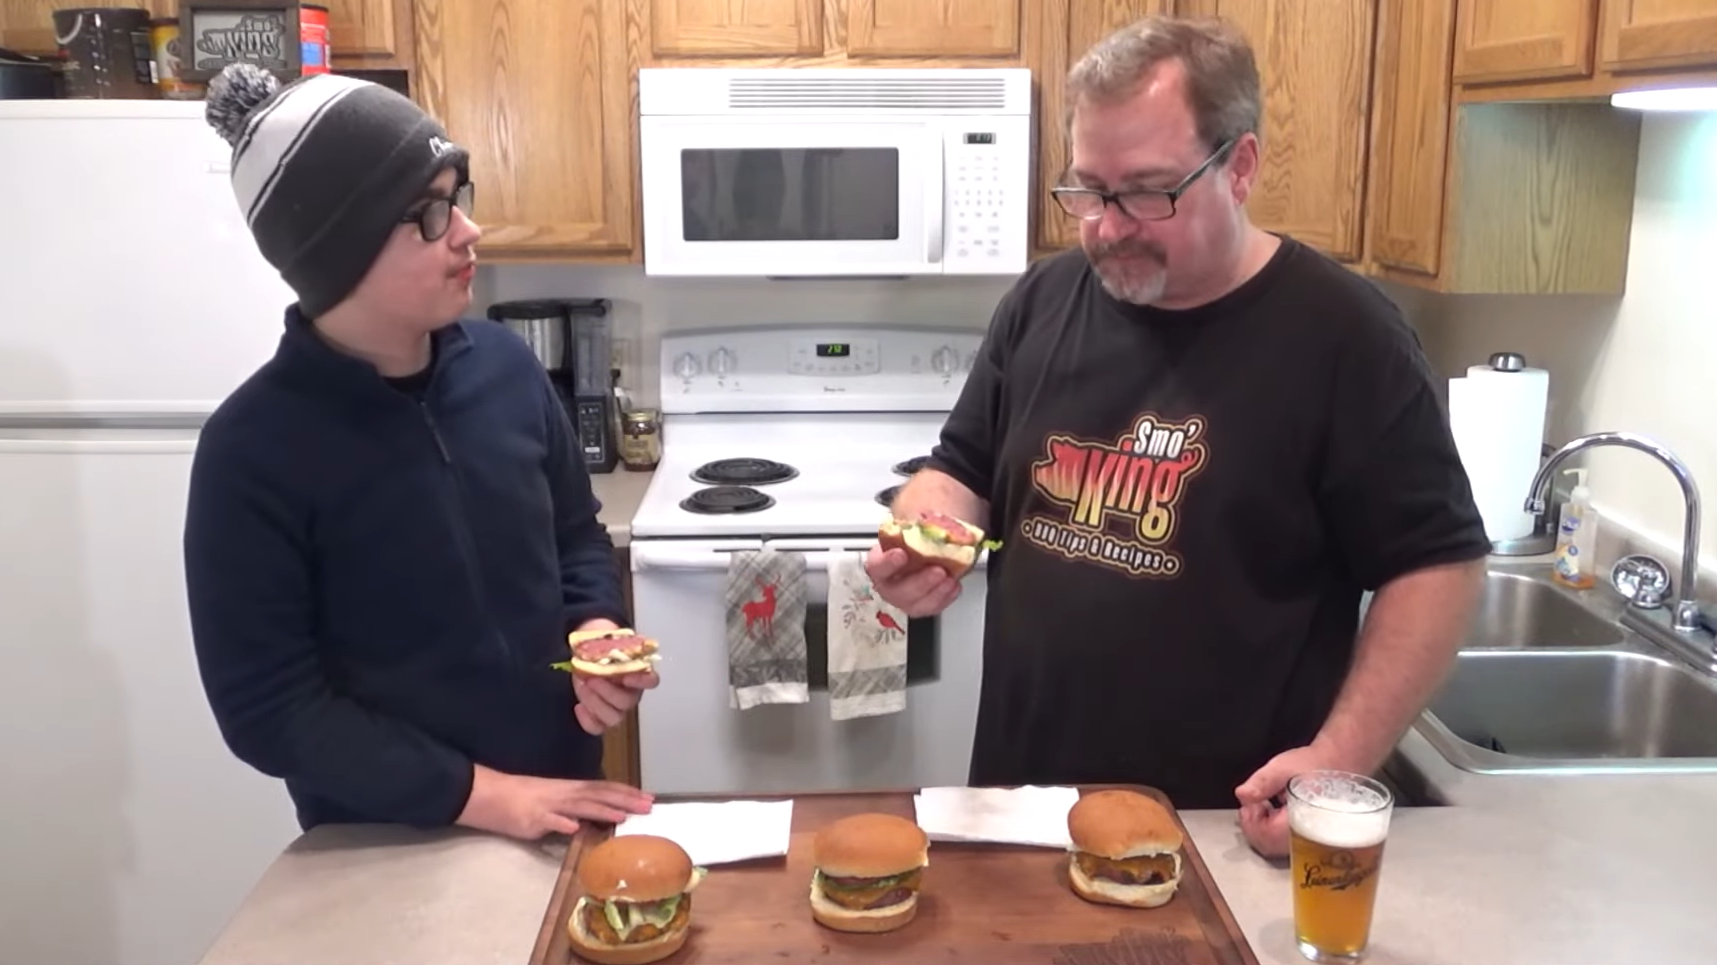
Hey, everyone! How you doing today? My name is Eric. As always, I want to thank you for coming by… On this episode of Smo’King, I'm going to show you how to make smoky bacon cheeseburgers. Now, I got this recipe from this local butcher shop… called “J&E Meats” and one of the things that he featured on his Facebook page... was these smokey bacon cheeseburgers...
So I went over there yesterday, and... unfortunately he ran out because they're so popular! Every time he makes us a big batch, they sell out so quickly. In fact, while we were there, kind of hanging out, talking to him, a lady came in specifically looking for it. She'd never been there and she said, “Oh, yeah, I got a recommendation that I had to try these burgers.”
And then he told me, “Well look, I have all the ingredients here. Why don't you make it yourself at home?” So he sold me all the ingredients.
Now, when I first tried these burgers, I had such an intense smoky flavor I actually thought he took the raw ground beef and smoked it for a few hours to absorb the smoky flavor. He said no. What he did is he took end pieces of bacon… and these little end pieces that are kind of at the last bit of the slicer that he can't do anything with, he grinds up and incorporates it into the ground beef with some high temperature cheese. And high temperature cheese just means it won't melt when you cook it on the grill.
And so that's what I'm going to do today... we're going to make our own homemade smoky bacon cheeseburgers.
So stick around. I'm going to show you how to do this step by step. Let's get cooking!
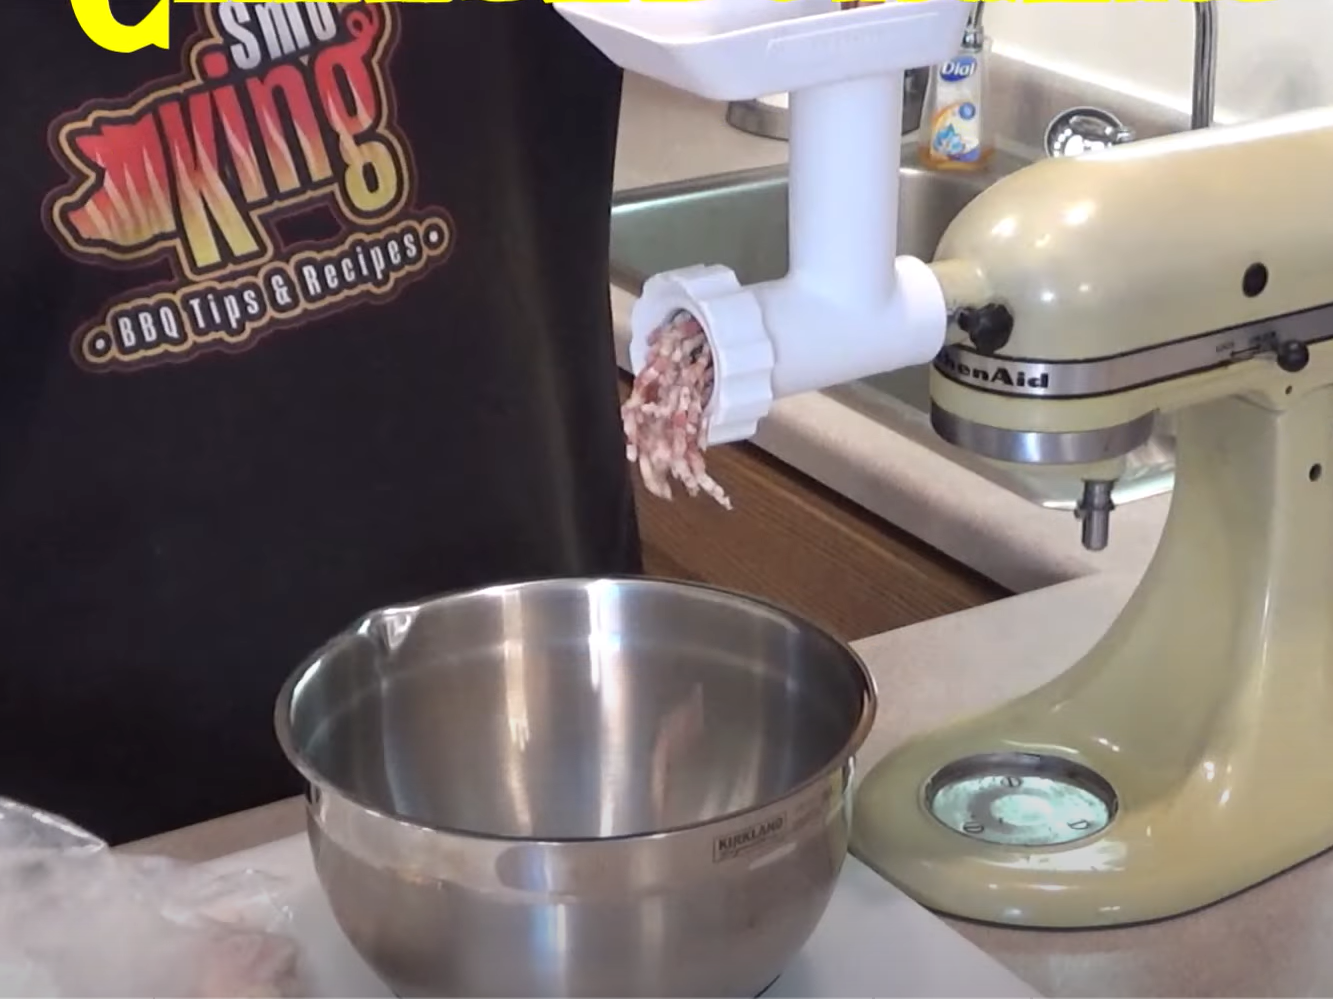
All right so what I'm using to grind my bacon up... I'm using the Kitchen Aid meat grinder attachment. Now, if you have a Kitchen Aid mixer, I'd highly recommend this... One thing they recommend is put all the components in the freezer. I put these in a freezer bag for around two hours because the colder it is the better. The easy it is to grind. Same thing with these bacon pieces. Here I had this in the freezer for around an hour or so.
So now I'm just going to take them up here these pieces of bacon piece by piece. And we're going to slowly start to grind them...
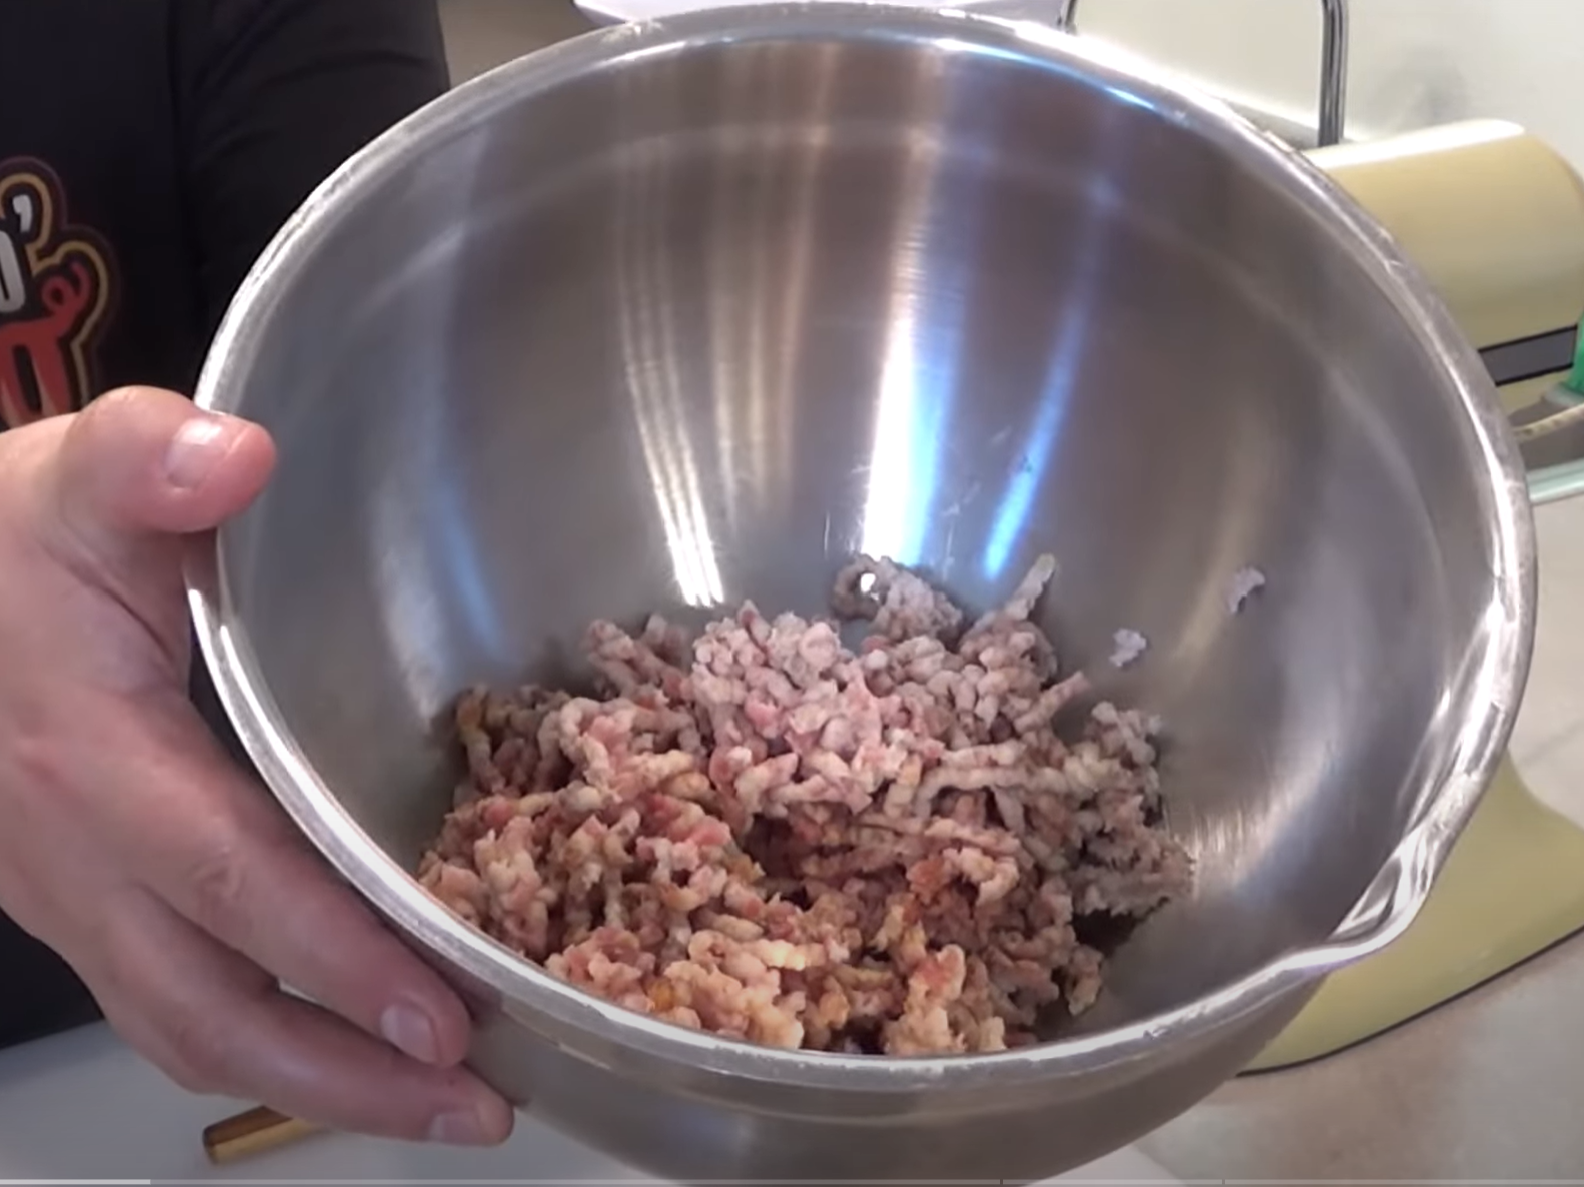
So this is going to add a little bit more fat to the meat and that delicious smoky flavor. There we go. It doesn't look very appetizing but works very well as you can see. And we only need to grind this once, and this is about it. This is all the bacon here, or I should say the end pieces of bacon, and this is a great thing to use if you do smoke your own bacon and you get some end pieces at the end...
All right guys, just want to show you what it looks like when it's all ground up. Okay, be back in a second with the ground beef and that cheese, and we're gonna mix this all together…
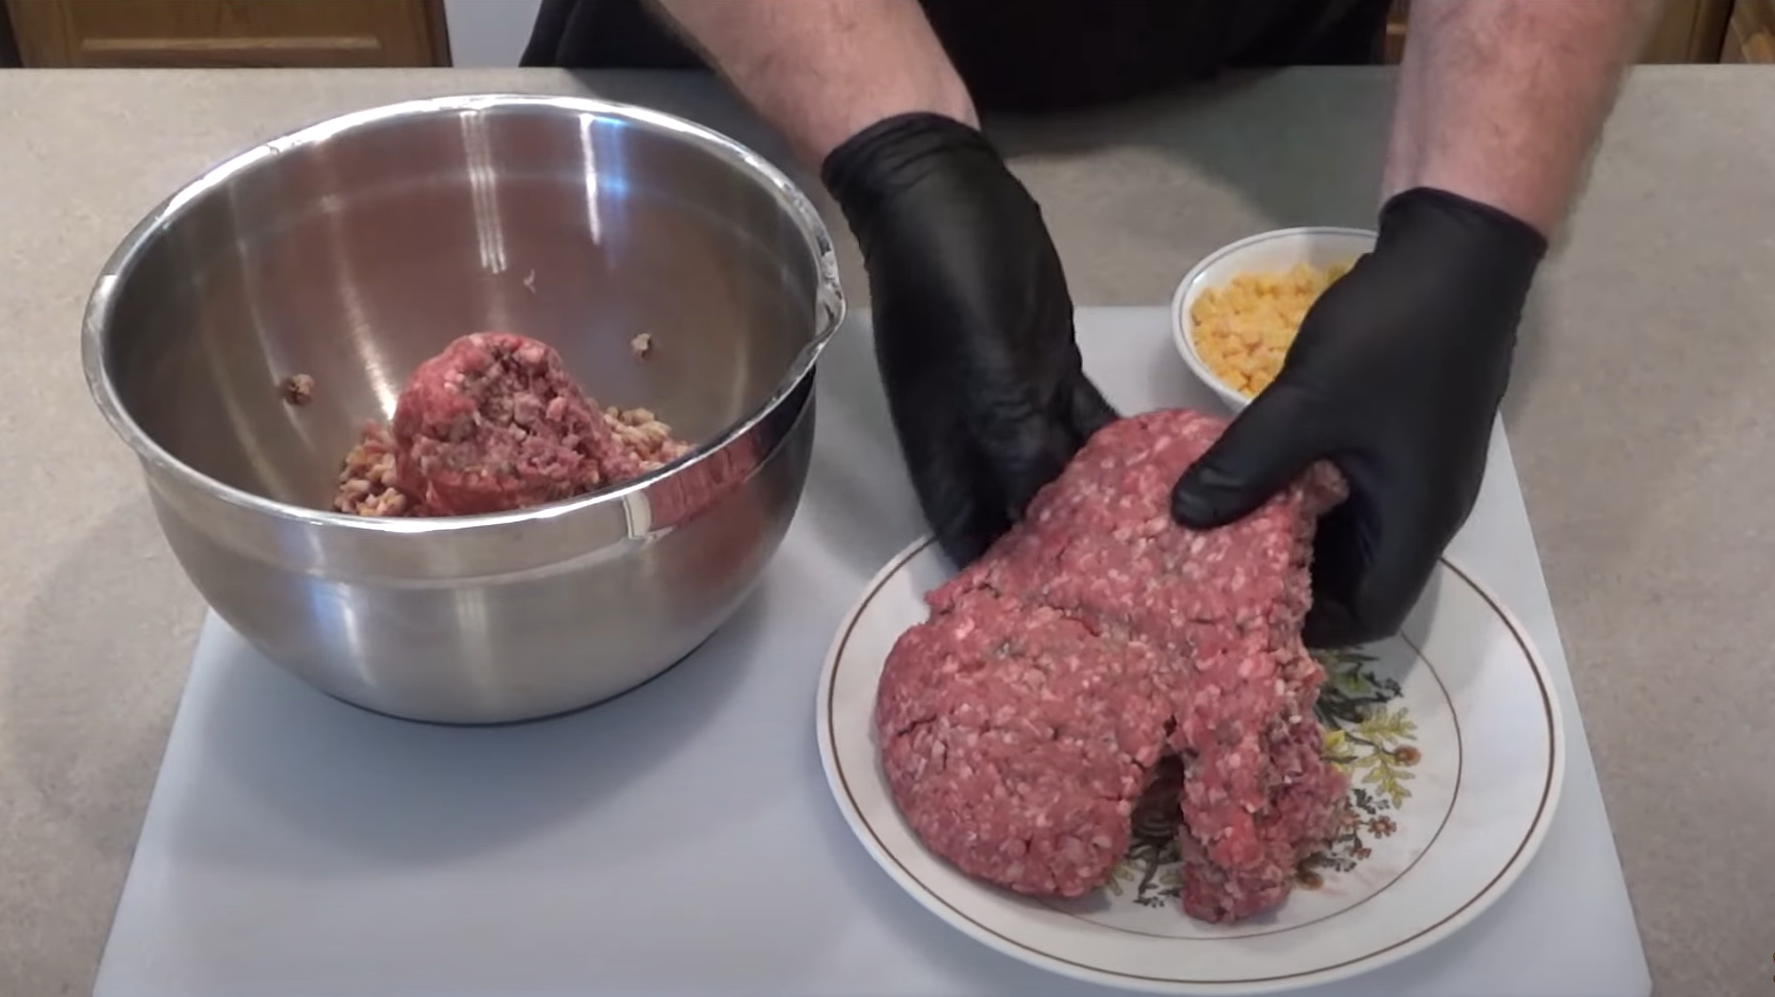
All right so there is the ground up bacon. I'm gonna take the ground beef and we're just going to incorporate this last thing I'm going to put in is the cheese. Cut this into small pieces. Here I got a pair of gloves on.
Now, like I said, it would have been a lot easier if I would have some meat that I cut up with the bacon and ground it together because it would have naturally incorporated itself. But we're going to do it this way instead.
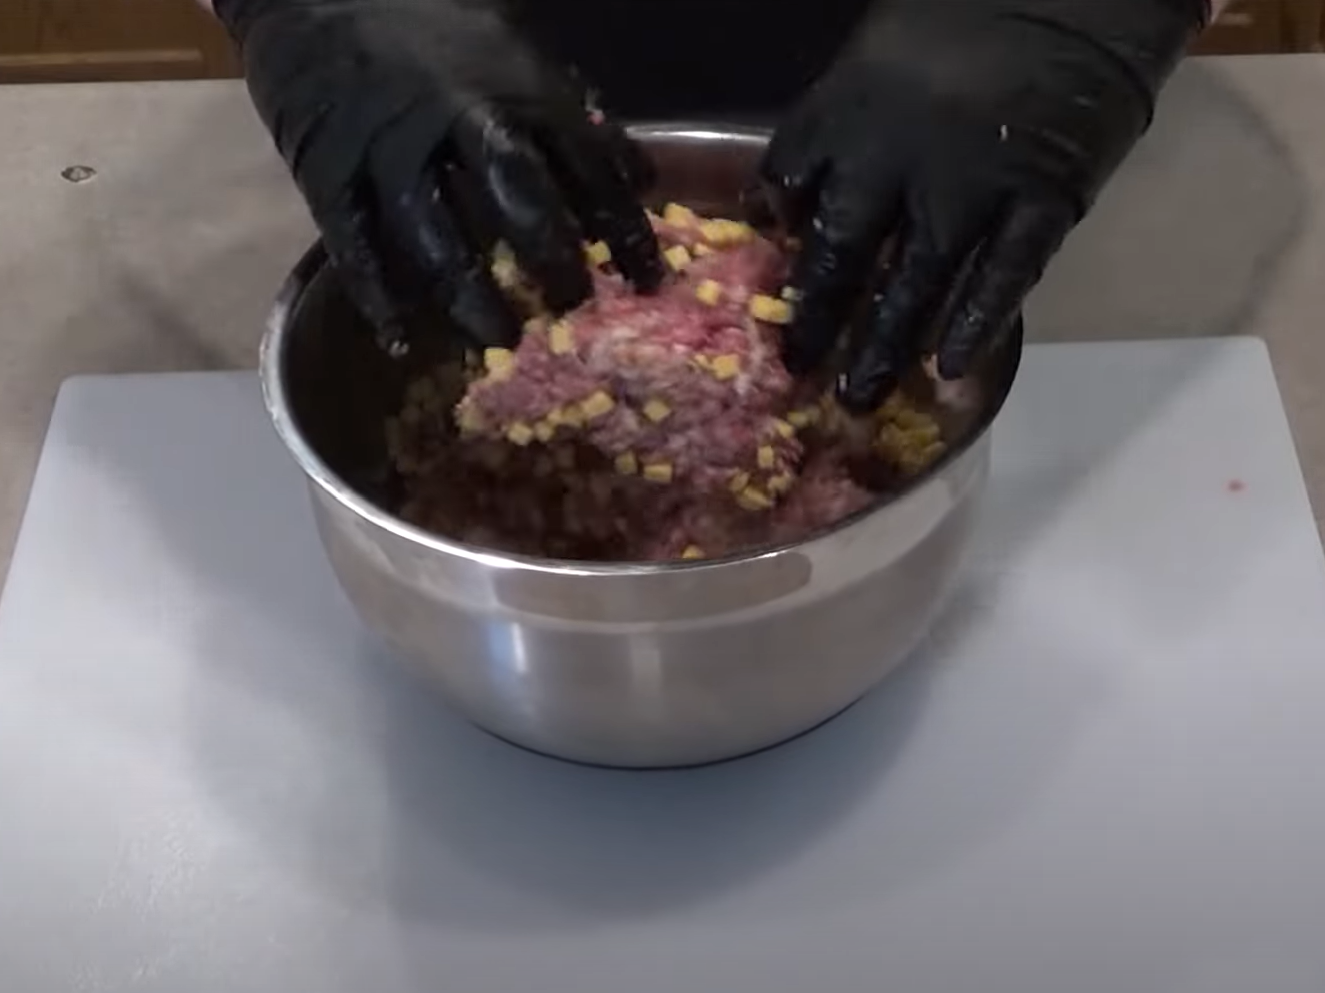
So now, I'm just going to incorporate those bacon pieces I just shred it up into the ground beef. I'm going to stir it real good. I don't want to over mix it, but I want it evenly spread out so give me a few minutes. We'll be back. I'll show you how it's supposed to look like.
All right so I mixed it pretty well. There you can see it's all incorporated. Now, the last step, we're going to put this high temp cheese in there. Now, if you think it's a little too dry you can add a little bit of water as a kind of binding agent in there. Some people add some different things as well, but I'll continue to mix this, and I'll be back in a minute.
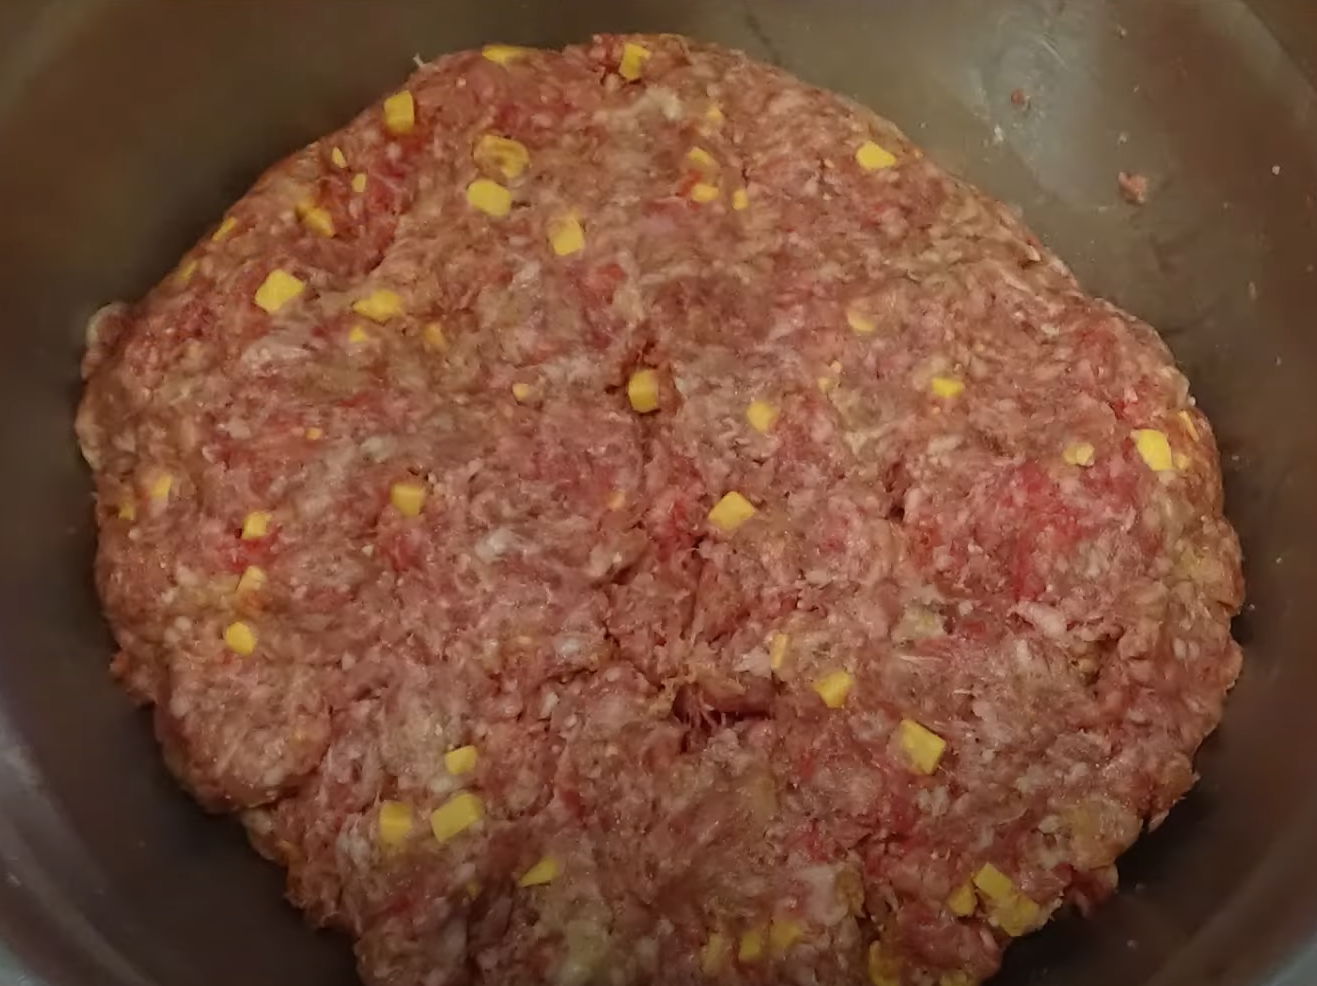
All right guys, I mixed it all together. Look at that. Got the cheese very visible. You can see the pork kind in there, the lighter color pieces.
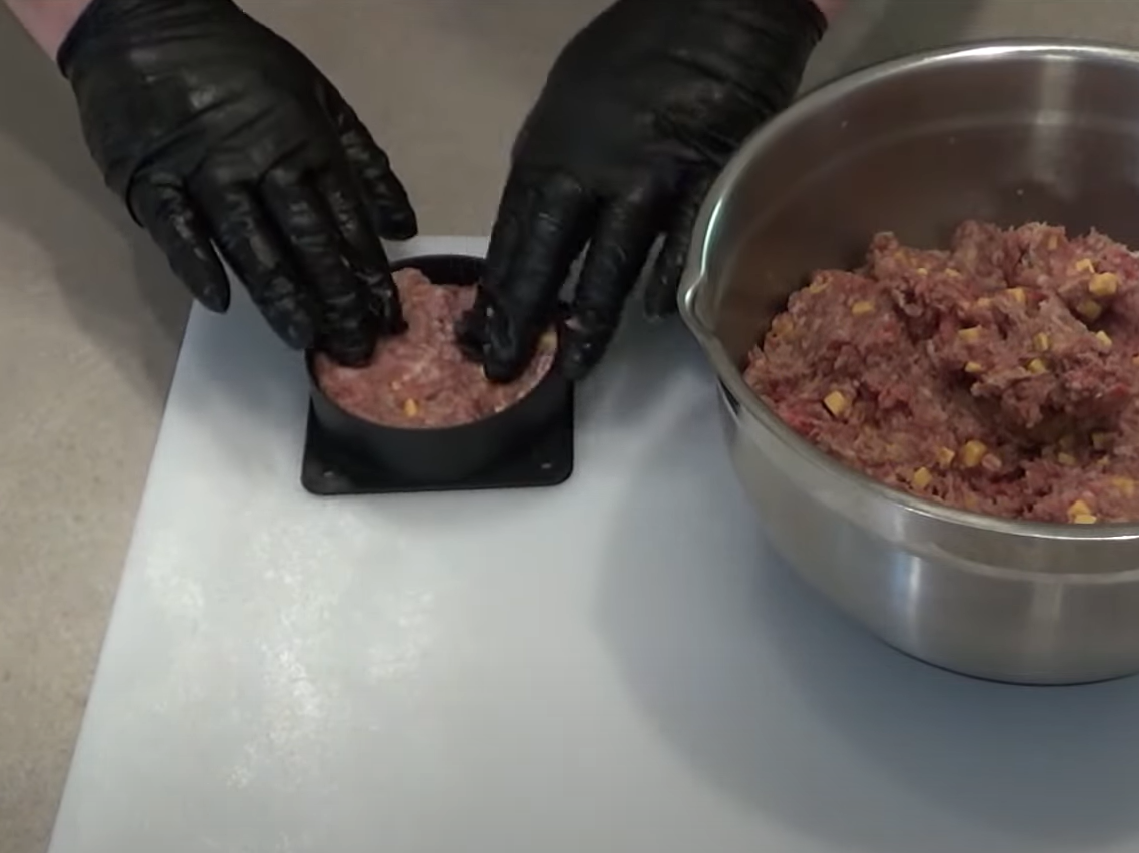
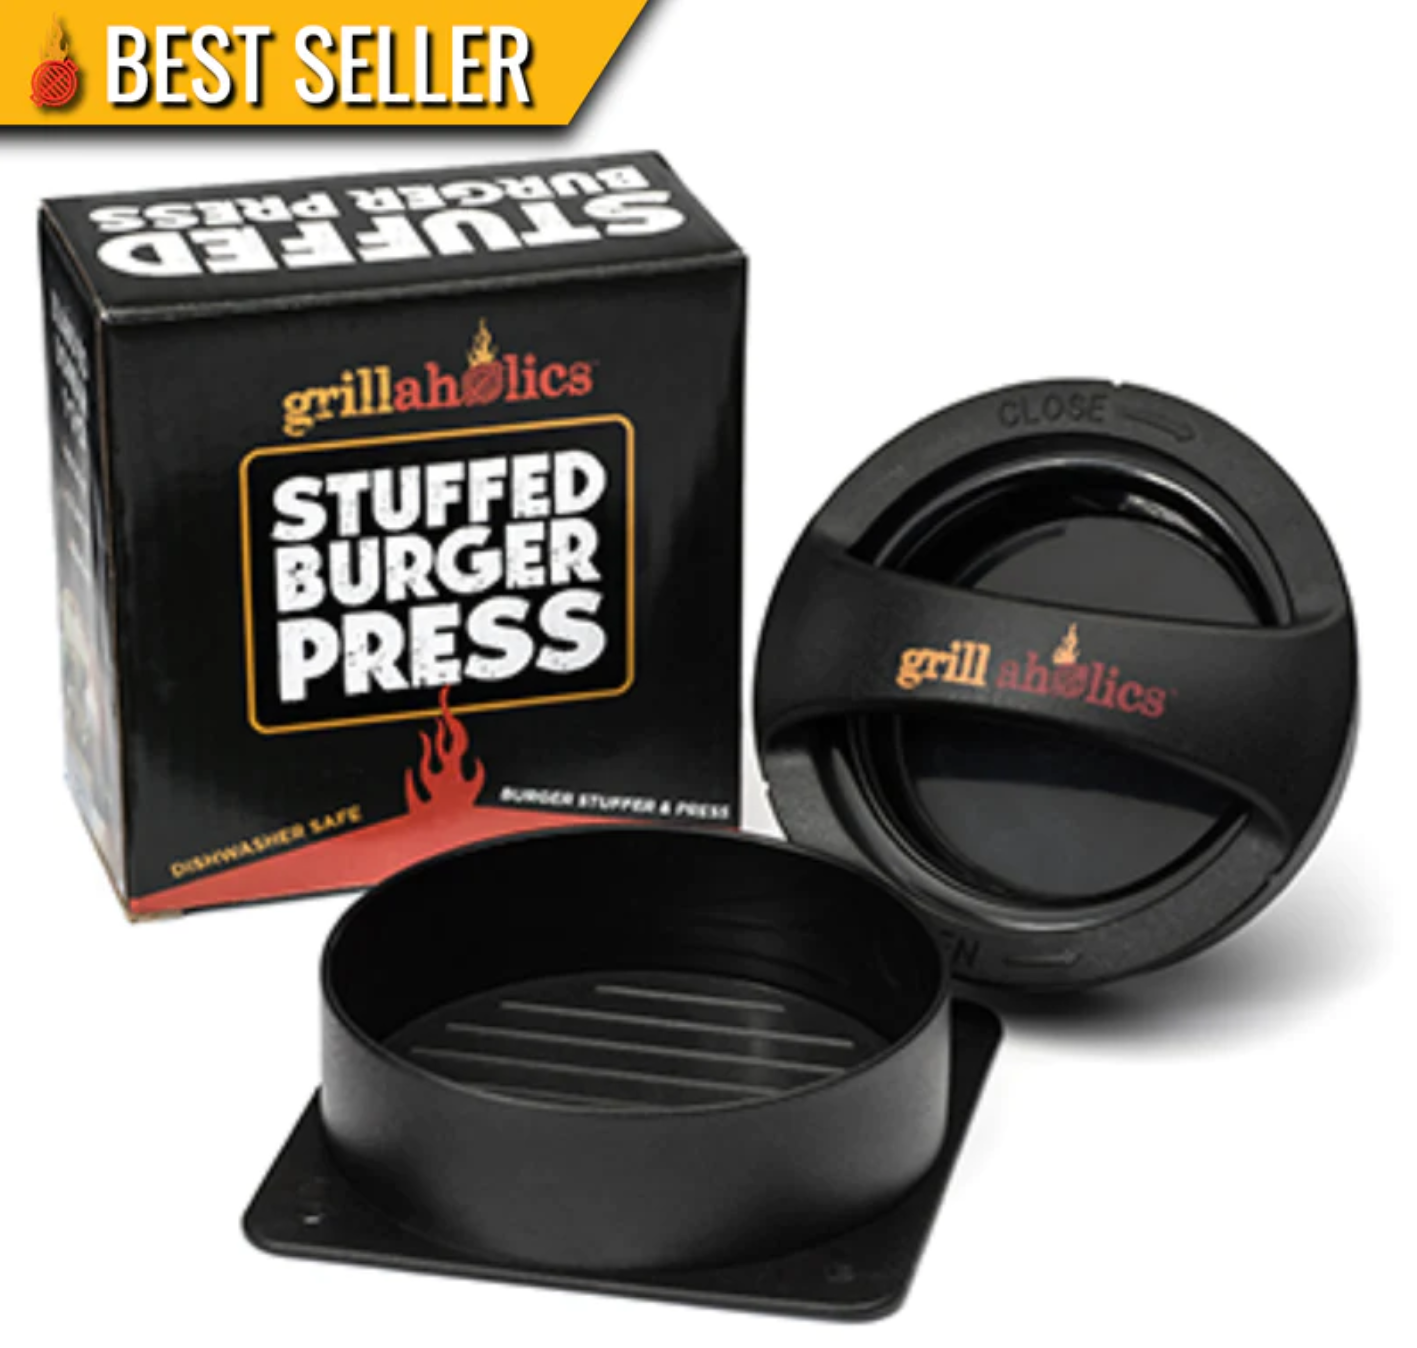
Now, I'm using a Grillaholics burger press, but you can form these by hand. I'd also mention this would make a great meatloaf for sure, so anyway, I'm going to make a bunch of burgers
I highly recommend these burger presses. They're not very expensive... And this one I got is from Grillaholics And you can also make stuffed burgers with this as well.
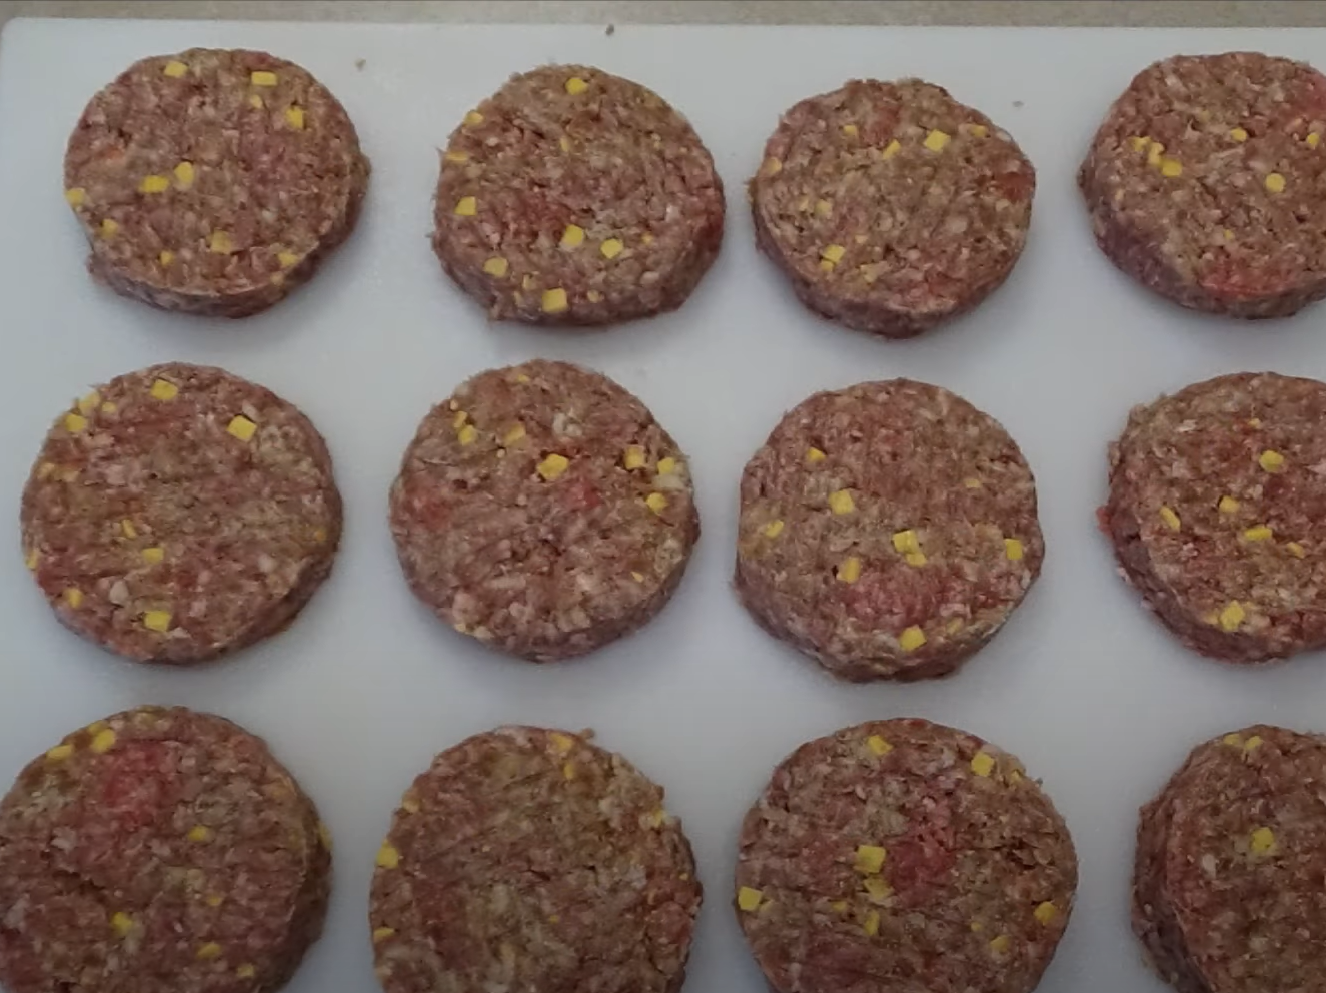
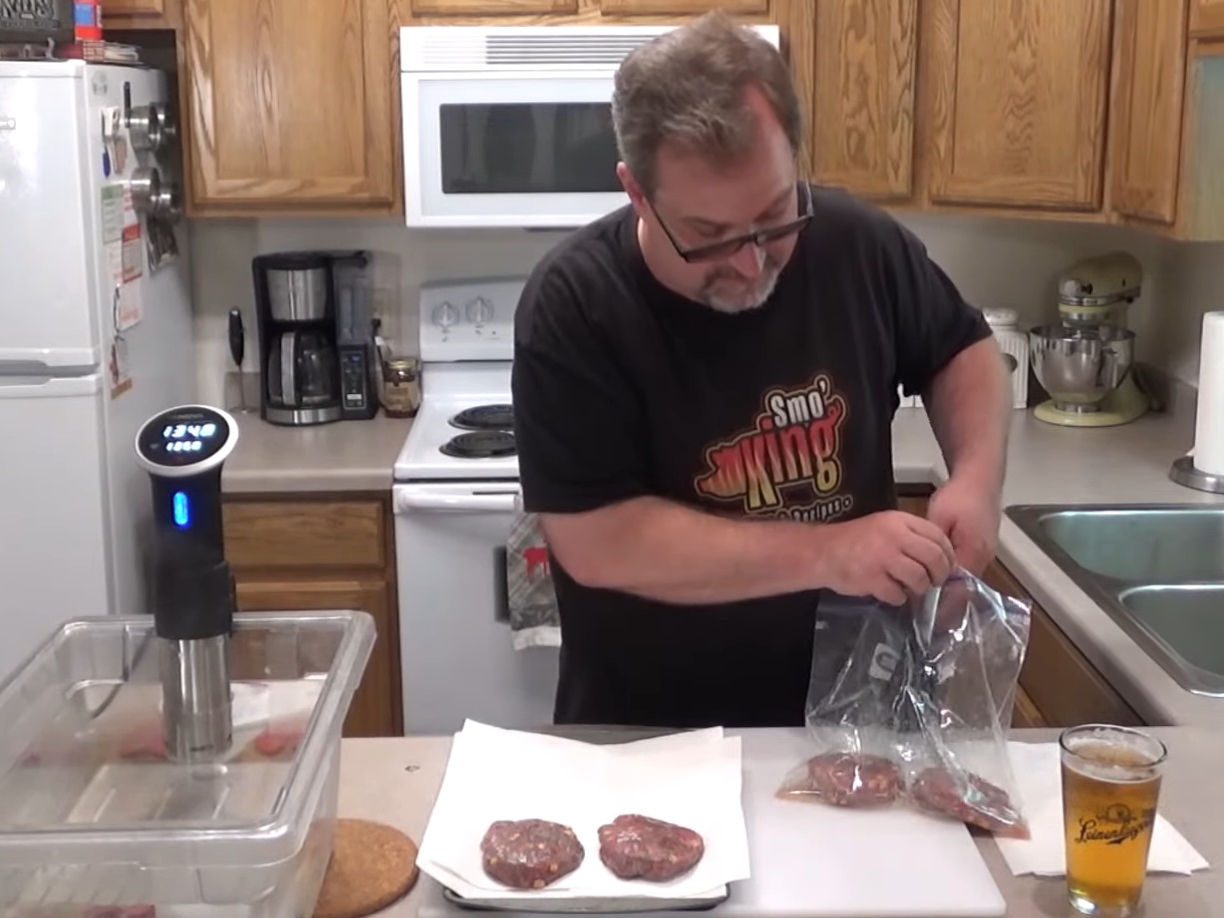
Look at how awesome they make these patties. Very uniform, very nice. And then, I'm going to put them in some Ziploc freezer bags, and we're going to just put them in the freezer for around 10-15 minutes while I heat up my Sous Vide bath, so they get nice and firm and maintain their shape in the plastic bag while they're cooking.
All right, here we are. So I've made 12 burgers. I had three pounds of ground beef, so you would think these patties are around a quarter pound a piece, but they're actually bigger because I put in the cheese and the bacon.
I'm not quite sure. I didn't weigh the bacon, but I would guess there was at least a half a pound, maybe closer to a three quarters of a pound of bacon. So these are probably more closer to a third pound but look how beautiful these are...
We're just gonna cook four tonight for dinner. And then the other ones, I'm gonna layer with some wax paper and put in the freezer for one night when we're looking for something to eat... But there they are. So I'm gonna heat up the Sous Vide bath...
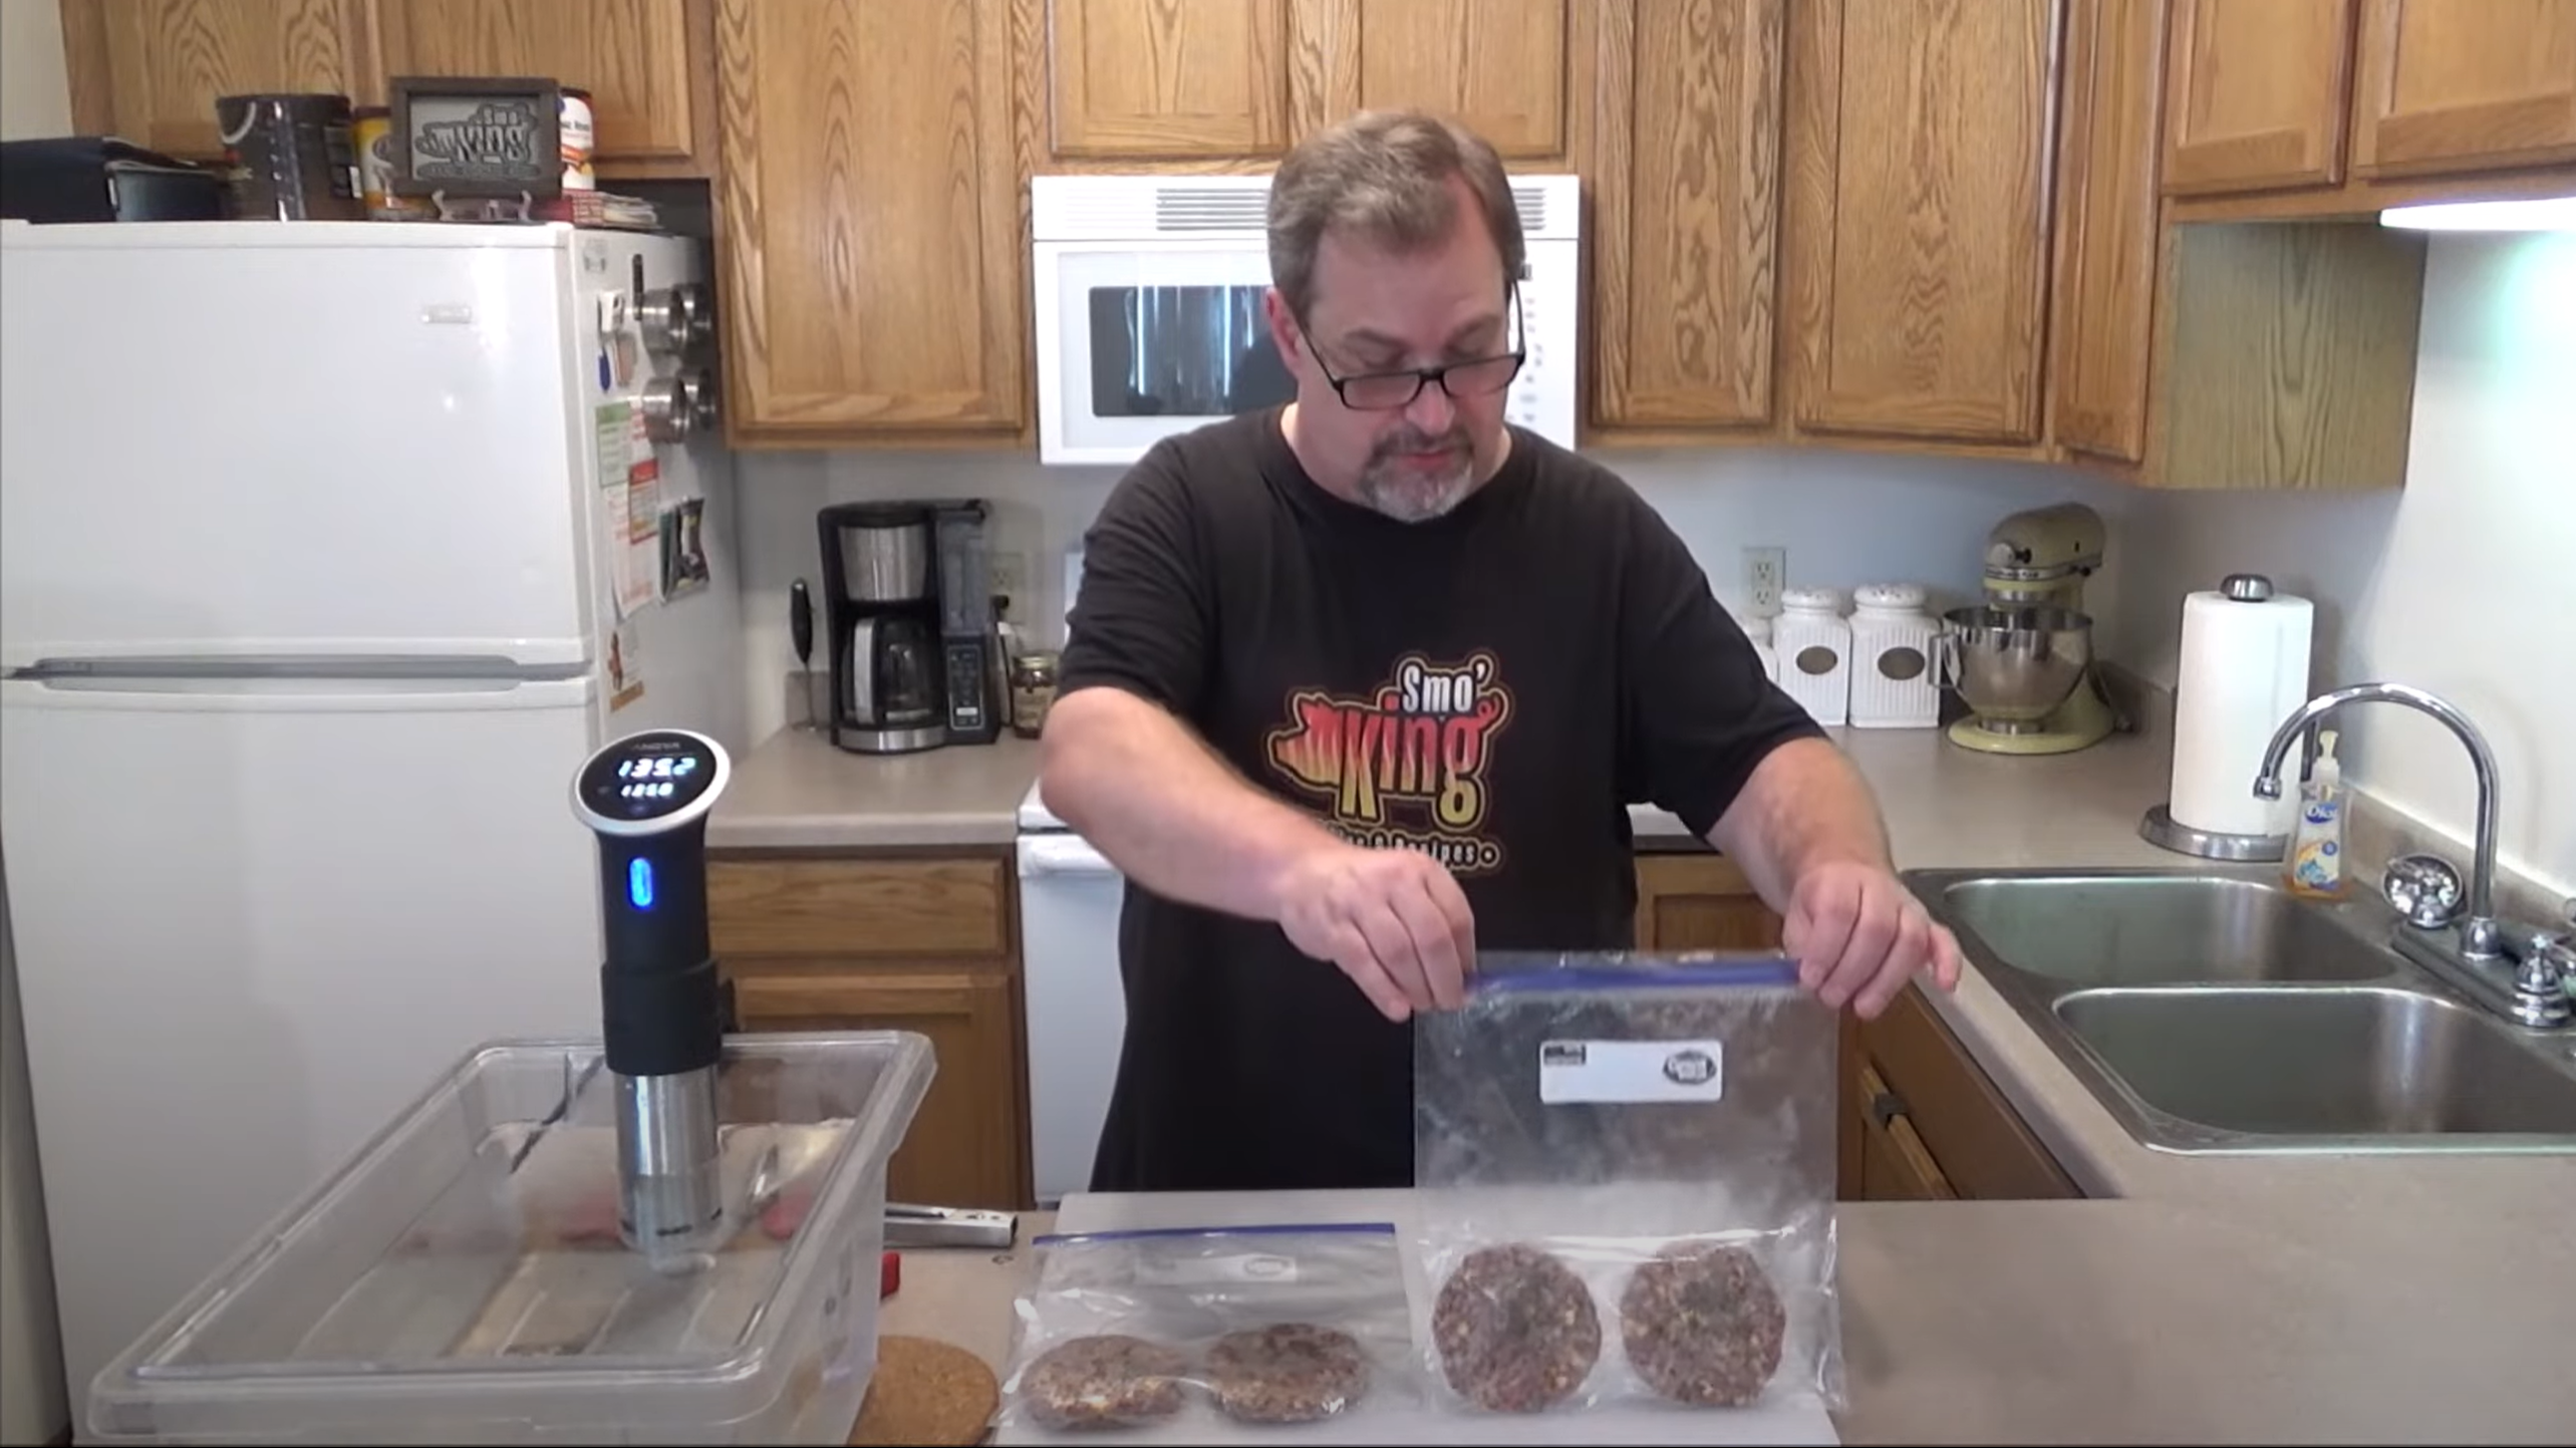
All right, so I heated up my Sous Vide bath to 135 degrees. One thing I didn't show on video, and I didn't mention is apply some salt and pepper on both sides of the burgers. I put a little bit of kosher salt, a little bit of ground black pepper, and if you're new to Sous Vide you just basically squeeze all the air out.
I got two burgers per bag. These are gallon freezer bags. You can vacuum seal them if you like but for such a short cook I don't think it's really necessary. And then as you push it under water you kind of squeeze that remaining air out and then seal it up.
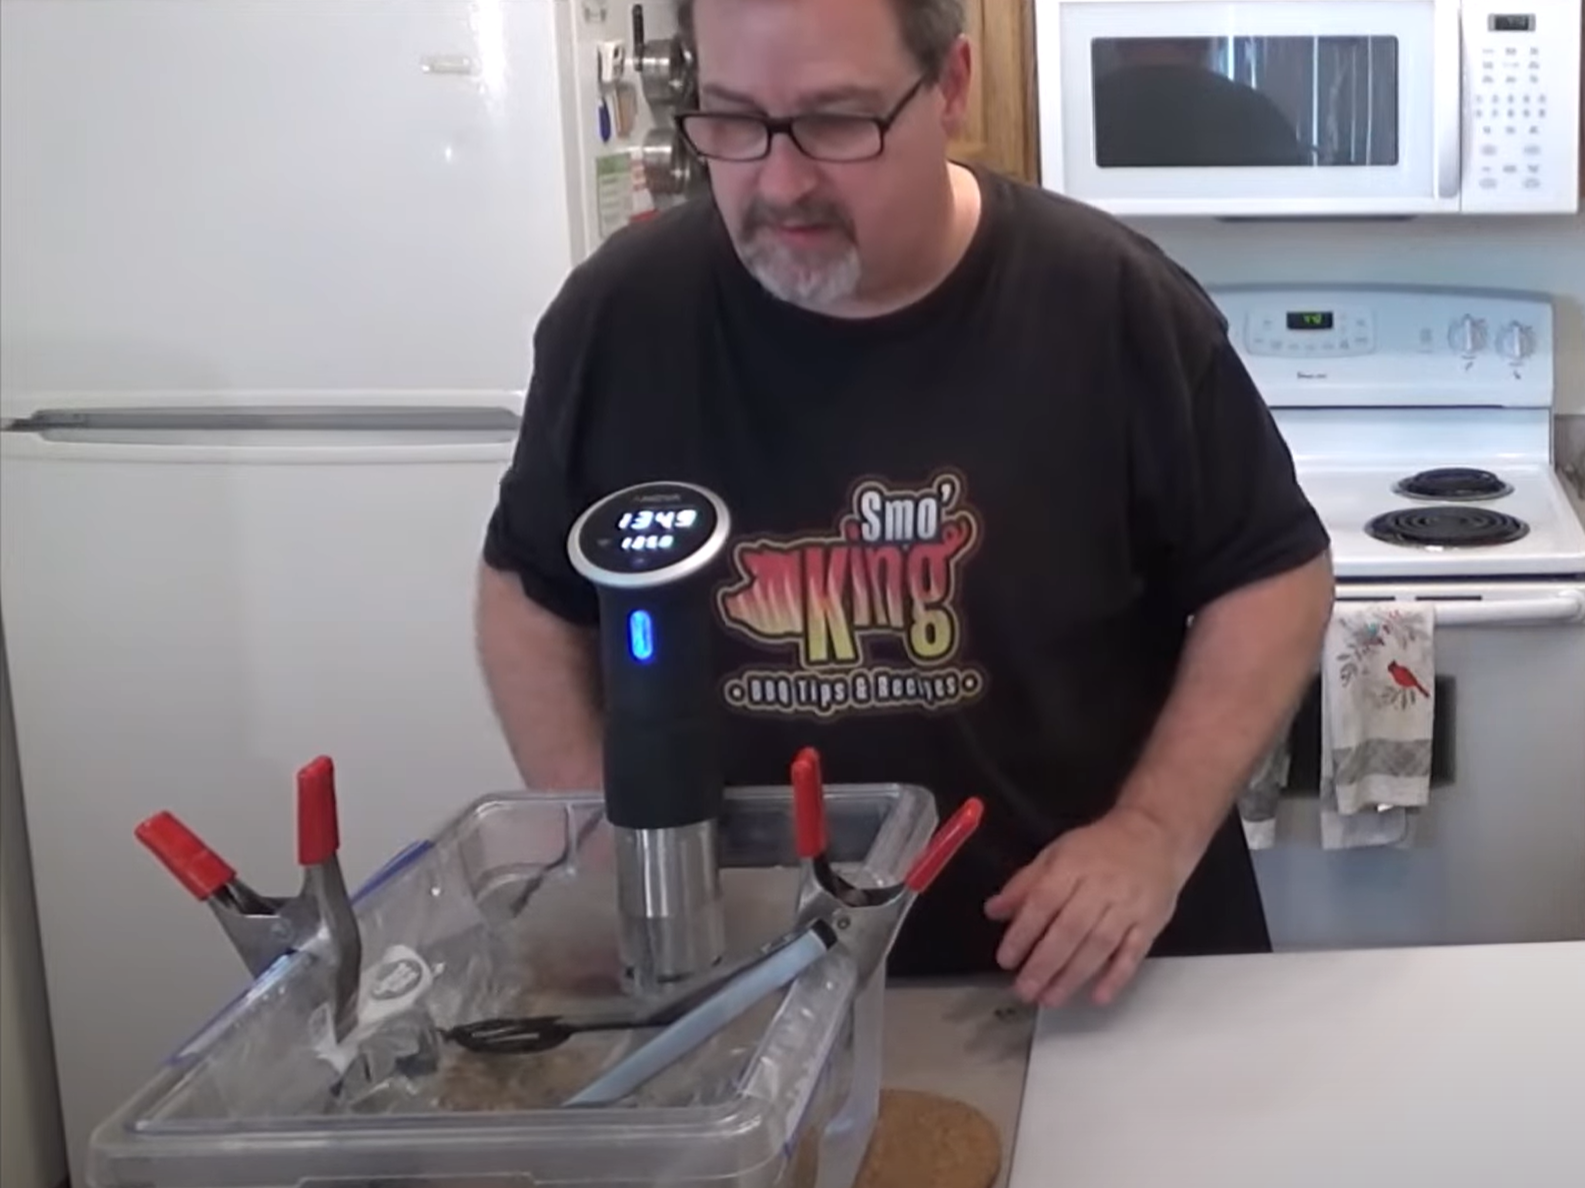
We're going to clamp it on the side. These are going to cook anywhere from one all the way up to four hours. I'll probably do hour and a half, maybe two. Just depends on how hungry everyone gets, but that's another great thing about Sous Vide. They're ready when you're ready.
So make sure the patties stay completely under the water line. Otherwise, they're not cooking. Let's squeeze that air out... And it's sometimes just as a safety, I use a pair of tongs or something just to kind of help the burger patties stay underwater... I'm going to set it for two hours...
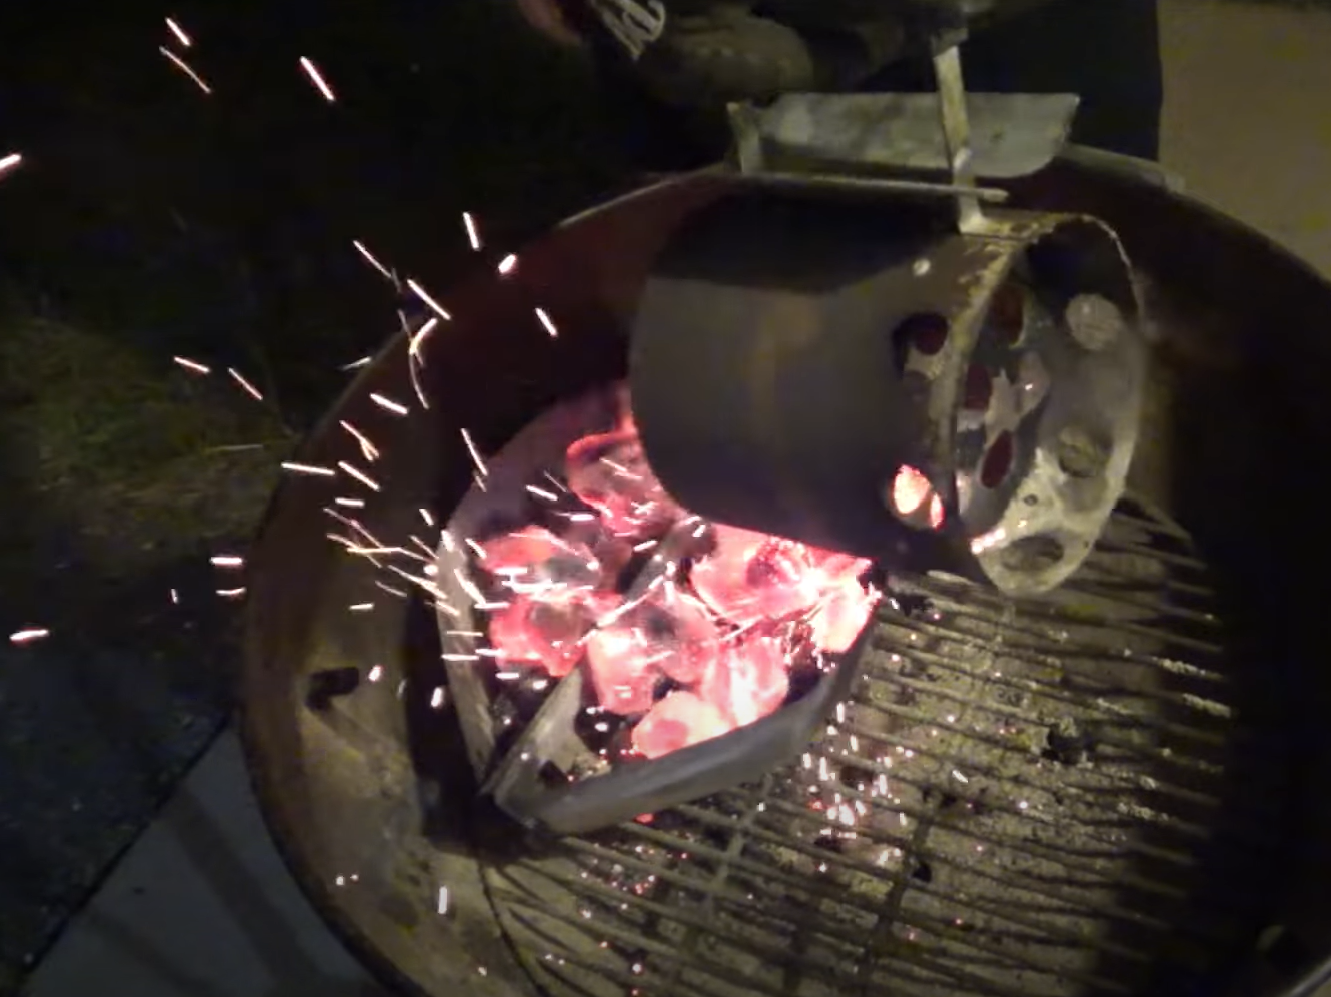
It's been around two and a half hours, so we are ready to eat. I just started some charcoal out on my kettle grill. Probably be ready in around 10 minutes, so I'm going to take these out and dry them off very well, which is the secret to getting a good sear... Get all that moisture out...
So we're just going to very carefully take these out of the bag. And I mean carefully because they are fully cooked so they're a little bit fragile, so just take your time. Very carefully put them on some paper towels... Oh, I can smell the smoke. It smells really, really good.
I'm just going to let them hang out here for a few minutes... but yeah just been drying them off with some paper towels 'til that grill is nice and hot. Meet you guys outside.
I got a small basket of coals here nice and ready, and I got a little bit leftover charcoal in these baskets. And I'll put them out and reuse them again. I just need a quick sear on these burgers and that's not going to take very long so it's just like a little mini basket here.
And you can sear these however you like. You could do them in a frying pan, cast iron pan, do it with a grill gun, you could do it on a grill gas, grill charcoal, grill whatever... I'm going to put the grate on real quick, just like so. I'll just let that get nice and hot. Be back in a sec’.
So these have been going for around 10 minutes... One of the things I love about that spinning grate is you could just spin it around...
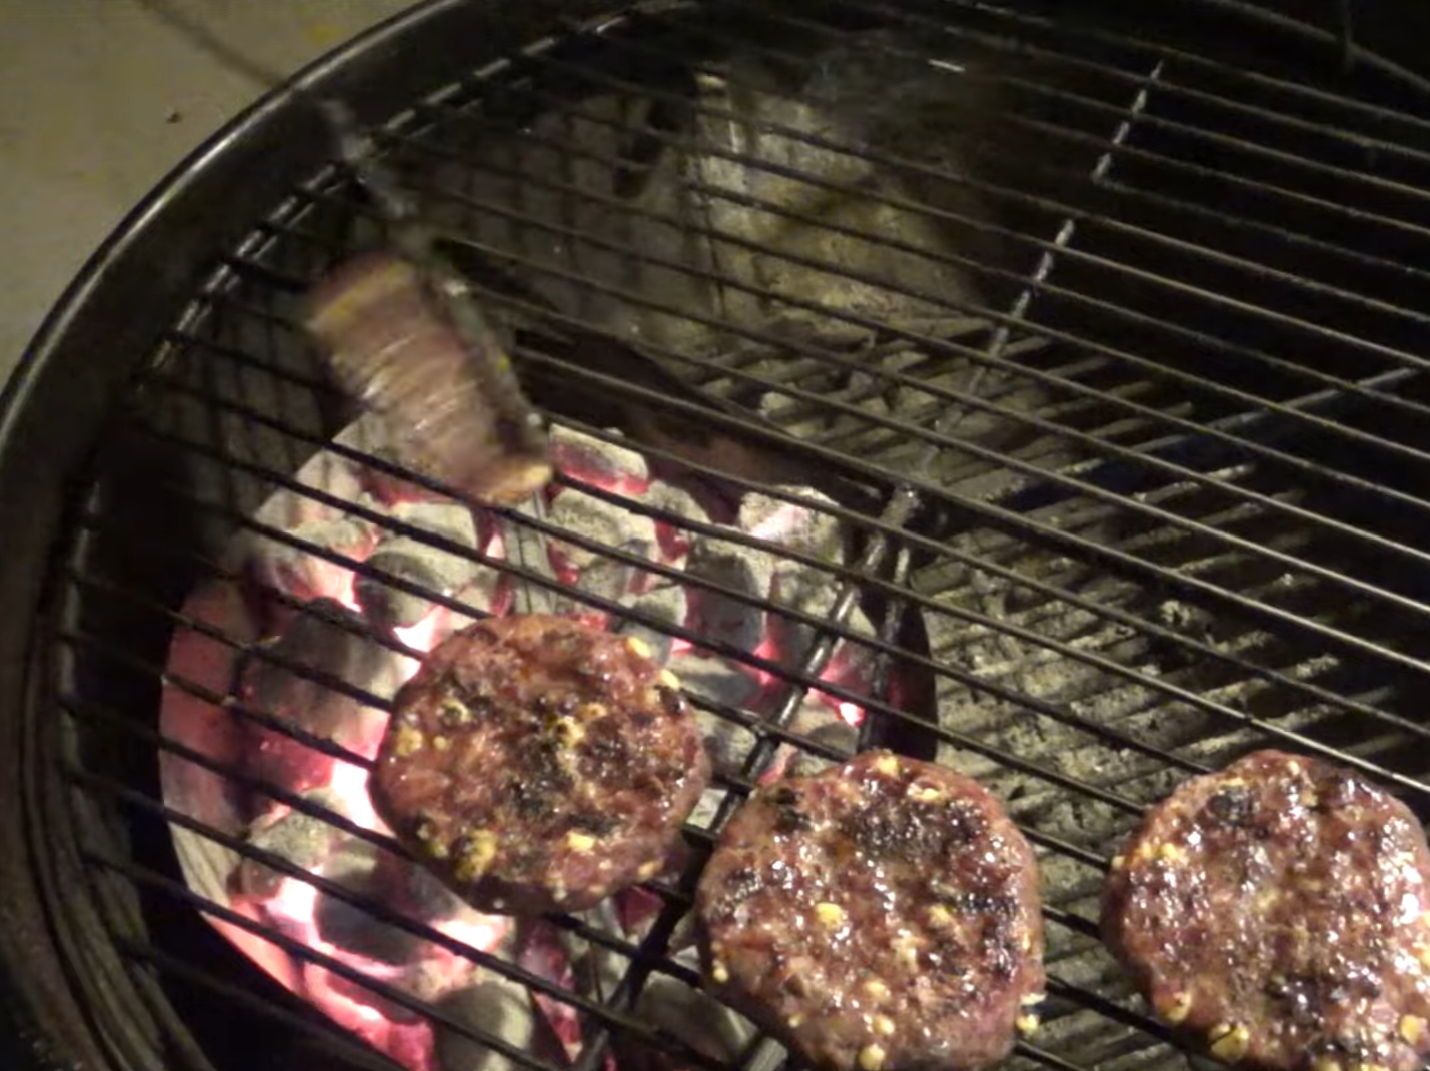
I'm gonna do these two first over that hot heat… I'm gonna only give this maybe a minute to a minute and a half on the one side. I just want to get a nice crisp on it. Then, we'll flip it over…
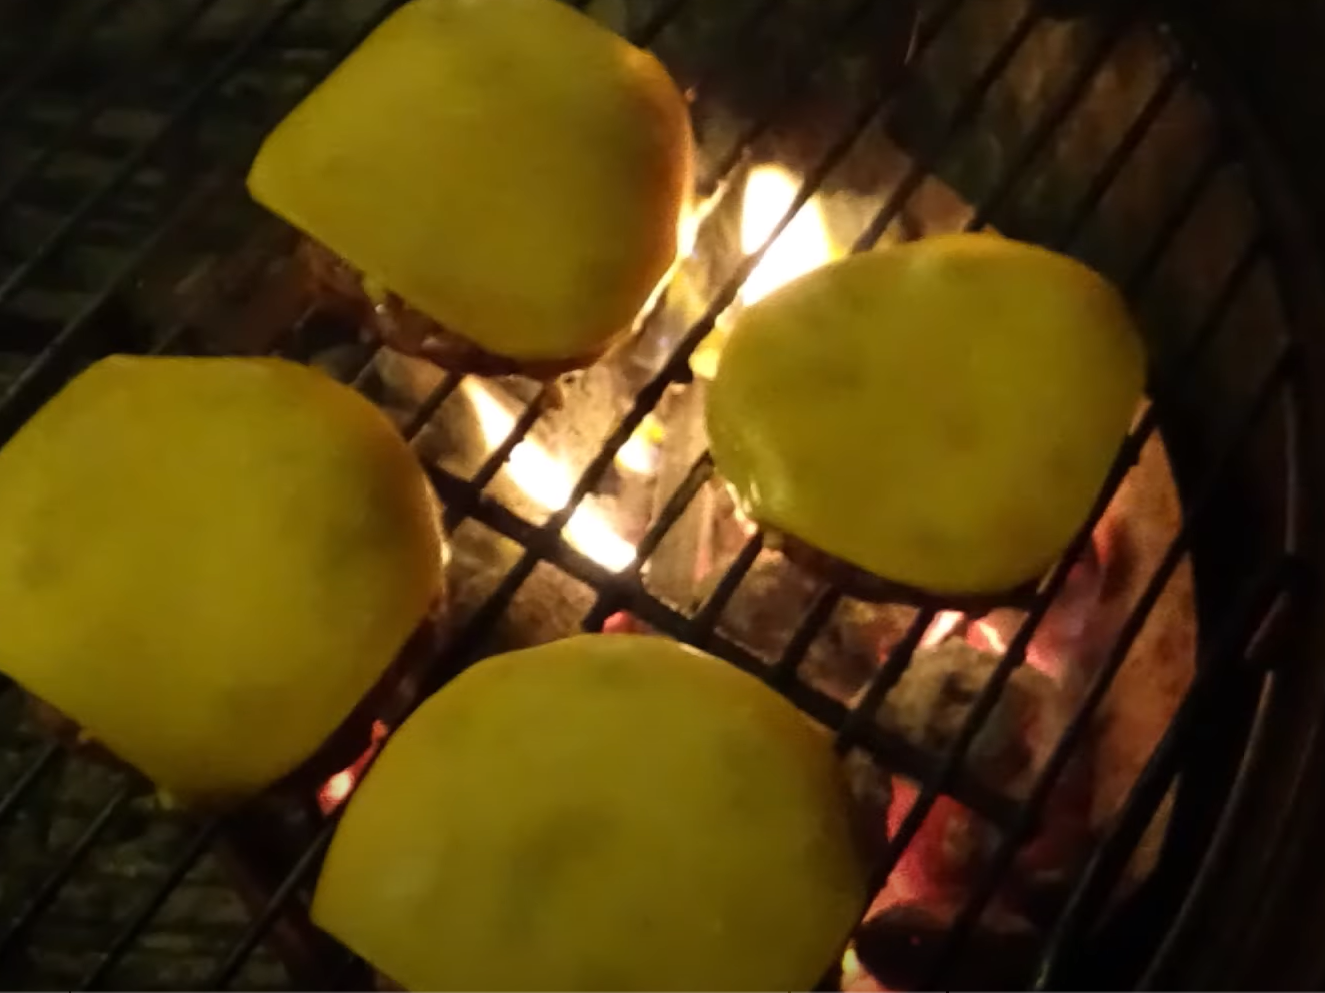
All right let's give these a flip and see what's going on... See that cheese just starting to melt now under some heavy heat… We'll give it another minute or so. I'm going to top it with some cheese... And then they're pretty much done. This won't take long at all got some sharp cheddar on… give them a few more seconds here just to melt that cheese and we'll be done…
I think we've accomplished what we wanted to accomplish here. Get a nice crisp on the outside, nice sear, and some melted cheese. I'll meet you guys inside.
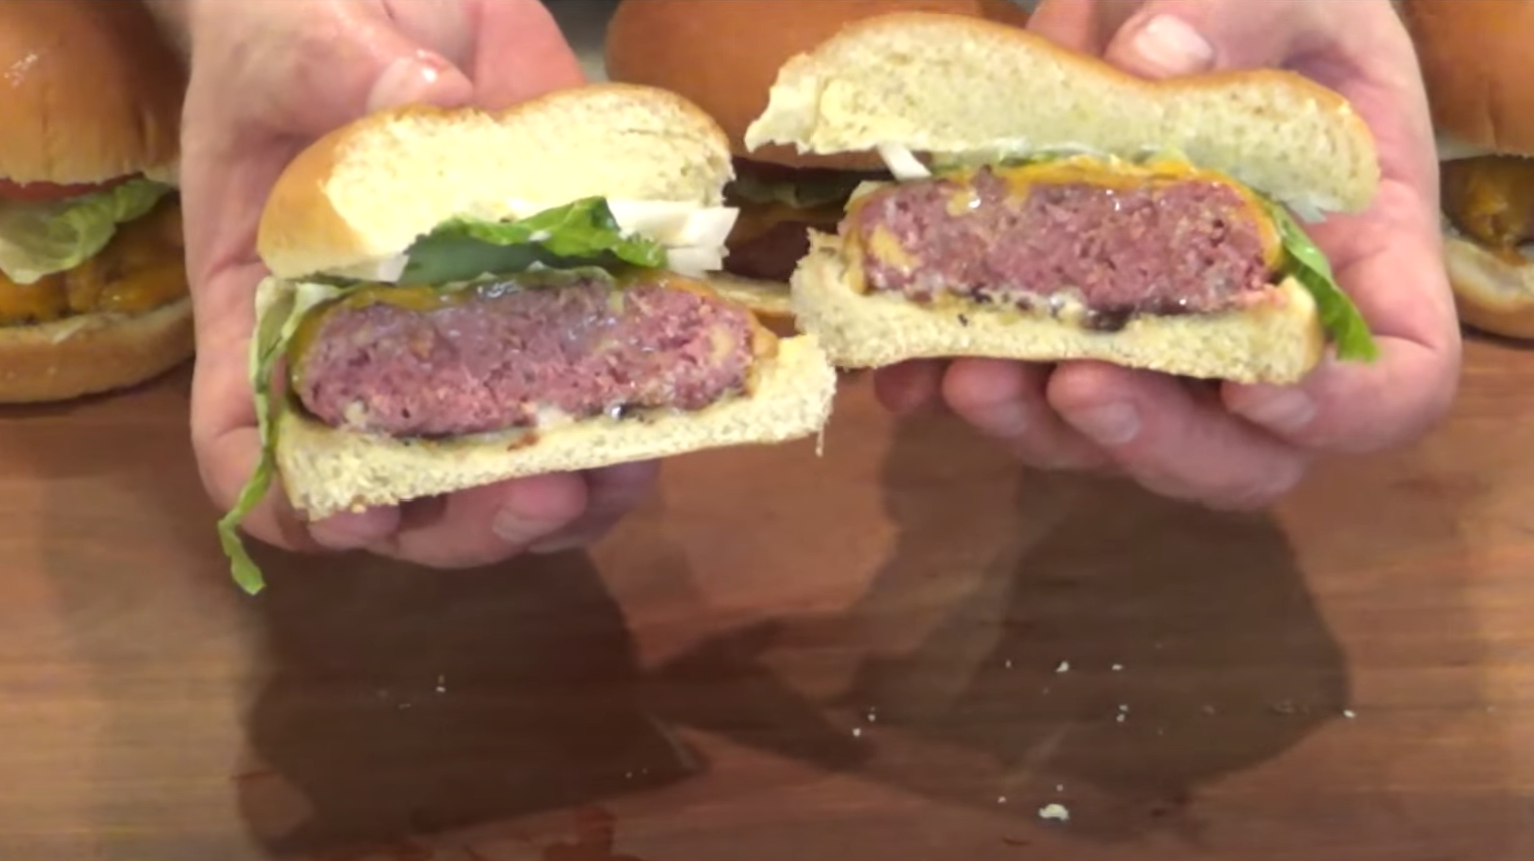
We are... having ones with tomato and... onion, lettuce... got some mayonnaise and mustard... Go ahead and put them on... Let's slice into this and see what we're looking at now…
Look at that man how delicious... Look at all that cheese inside just starting to melt… Boy this is good. This is perfect!


 RUBS & SEASONINGS
